
Managed Lists can be created on a site-by-site basis to pre-populate menu selections, for example, in the Project Wizard. Managed list properties are configured by MyMediabox on request and can be associated with one or more fields. The values are then populated and managed by the Licensor.
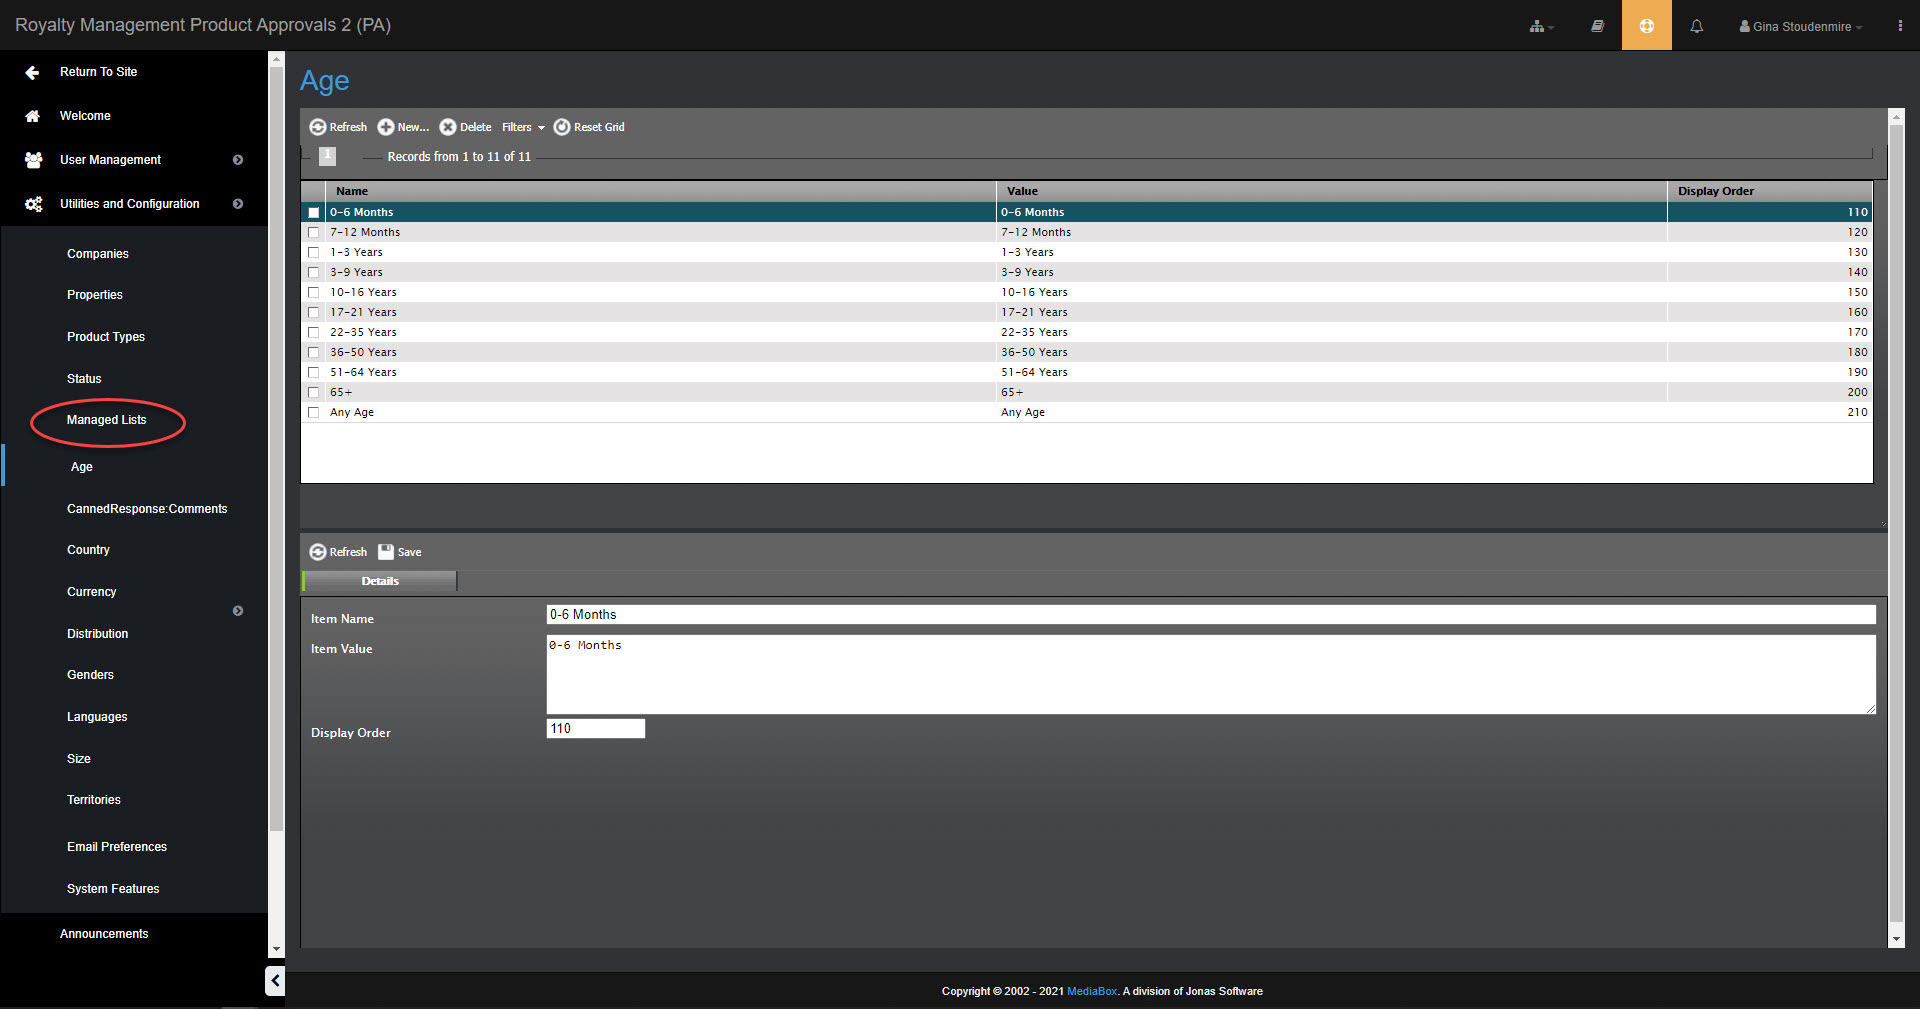
Examples of Managed List properties include:
Age – Target age
Canned Response – One-click commenting for standard comments
Color – Product color
Currency – Retail currency
Gender – Target gender
Language – Target language
Printing – Printing or decoration process
Priority – Project priority (e.g. urgent)
Size – Target size (e.g. for apparel)
Talent – For royalty reporting
Territories – Target territories
TIP Multiple fields can use the same Managed List values more than once.
Adding a Managed List item
To add a Managed List item
Under Utilities and Configuration, expand the Managed Lists folder by clicking the plus (+) sign.
Select a list folder.
At the top of the List pane, click New.
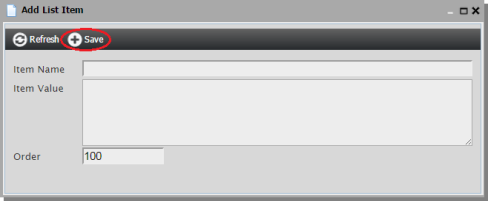
In the Add List Item dialog, enter the following:
Item Name – The name of the list item
Item Value – A value for the item, for example, an age range
Order – The order of the item as it appears in the list. The default value is 100, which means that the item will appear in alpha-numerical order.
Editing a Managed List item
To edit a list item
Under Utilities and Configuration, expand the Managed Lists folder by clicking the plus (+) sign.
Select a list folder.
In the List Detail pane, edit the list item and click Save to save the edits.
Deleting a Managed List item
To delete a list item
Under Utilities and Configuration, expand the Managed Lists folder by clicking the plus (+) sign.
Select a list folder.
At the top of the List pane, click Delete and then OK to delete the list item.